Products in the electronics industry have a wide range of requirements for precision measurement and testing. Due to the small size of the product components, the complex internal structure, and the characteristics of small, thin and easy to deform. Therefore, the measurement of electronic products requires flexible use of multiple sensors, such as image measurement, contact measurement, laser measurement, white light confocal measurement and other sensor technologies in one, which greatly improves the measurement function and shortens the measurement cycle. Facing the electronics industry, Xiangyu’s precision measurement solutions cover all segments of the electronics industry.
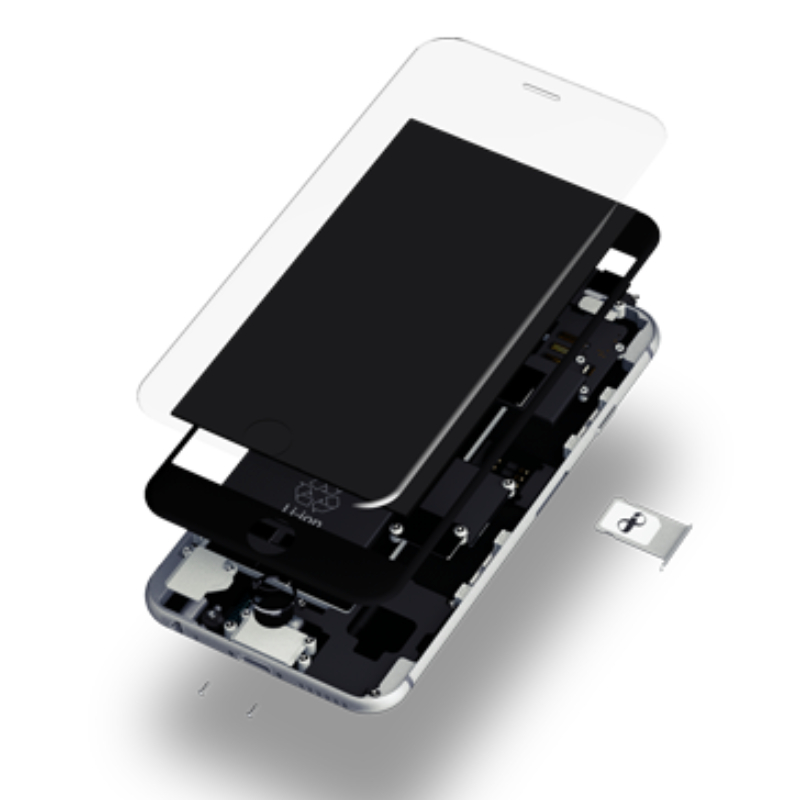
Detection elements:
The length and width dimensions, aperture size and position of the middle frame, buttons and slots, as well as the depth and flatness of each step, two-dimensional outline dimensions

Detection elements:
Measurement of length and width dimensions, contours, LCD module RGB boundaries, panel and backlight plate bonding offset, backlight plate flatness, sealing glue thickness and module defects
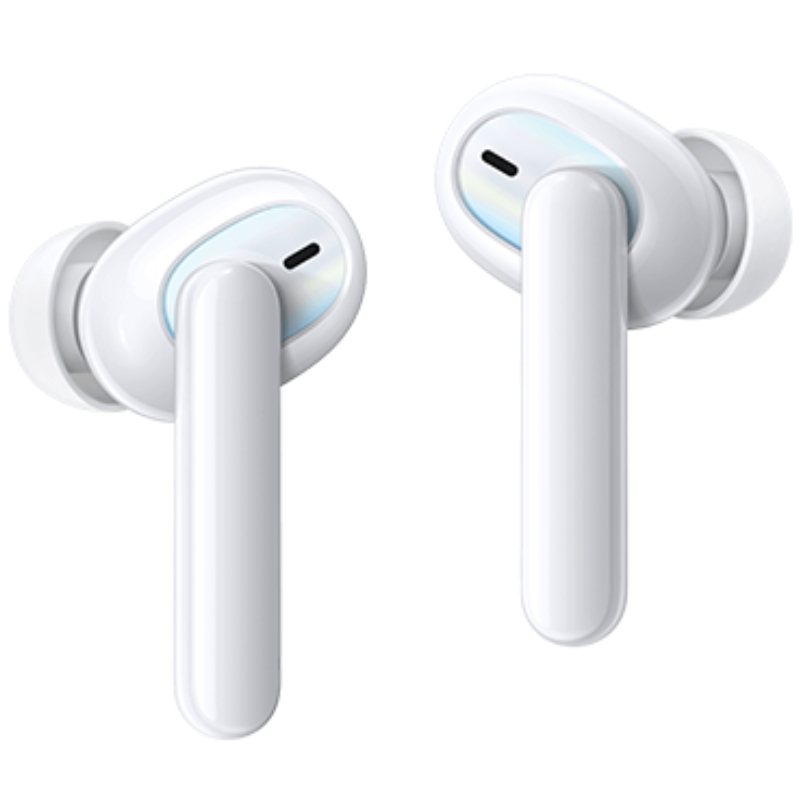
Detection elements:
The mold size, outline, sound cone, shell structure and shape of earphone products, earphone hole diameter, position, earphone plug shaft diameter and length, etc.; assembly size of speaker components

Detection elements:
Length and width, aperture, flatness, thickness, warpage, R angle, 3D profile, curved surface profile of 2D, 2.5D and 3D glass
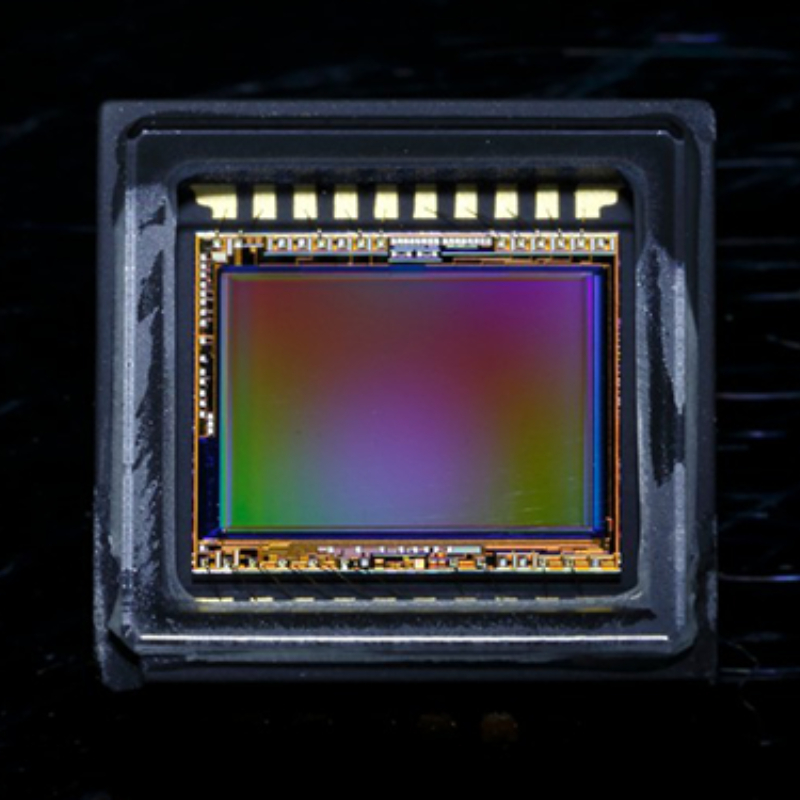
Detection elements:
Ultra-high-precision inspection of precision molds, multi-layer diameter and concentricity of lens products, physical eccentricity of lens lens
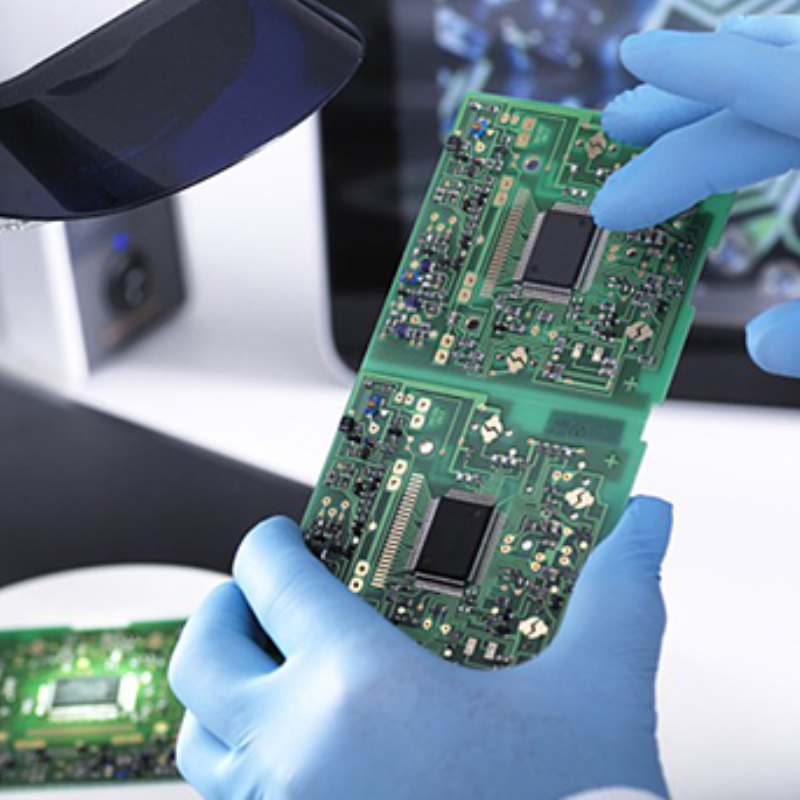
Detection elements:
Line width and line spacing, upper and lower widths, golden finger width and spacing, expansion and contraction detection, and drilling depth detection
D Detection elements:
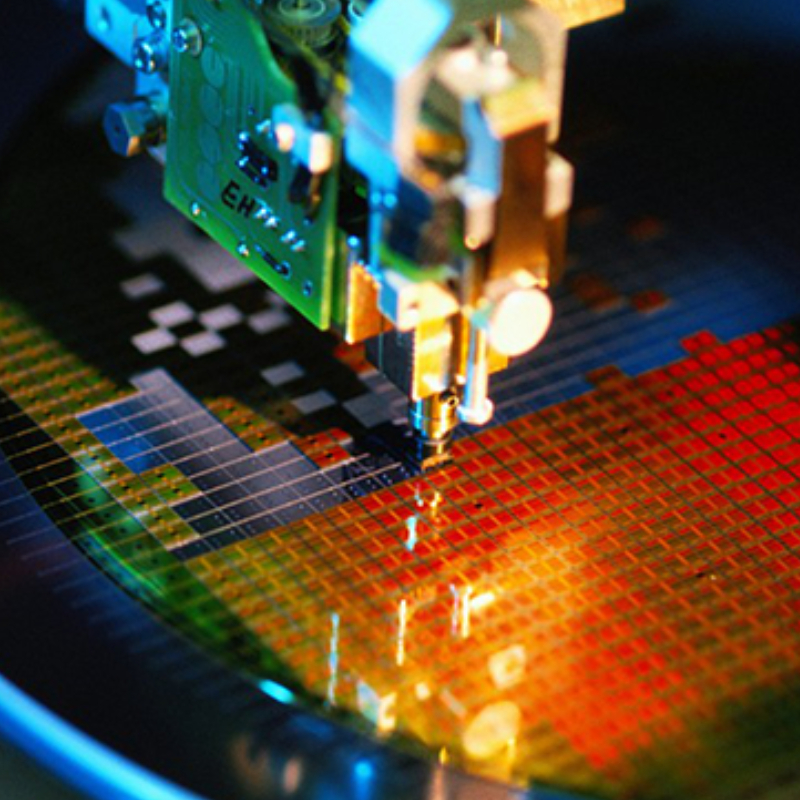
Connector size, pin length and width, distance, position, and pin height and coplanarity
Detection elements:
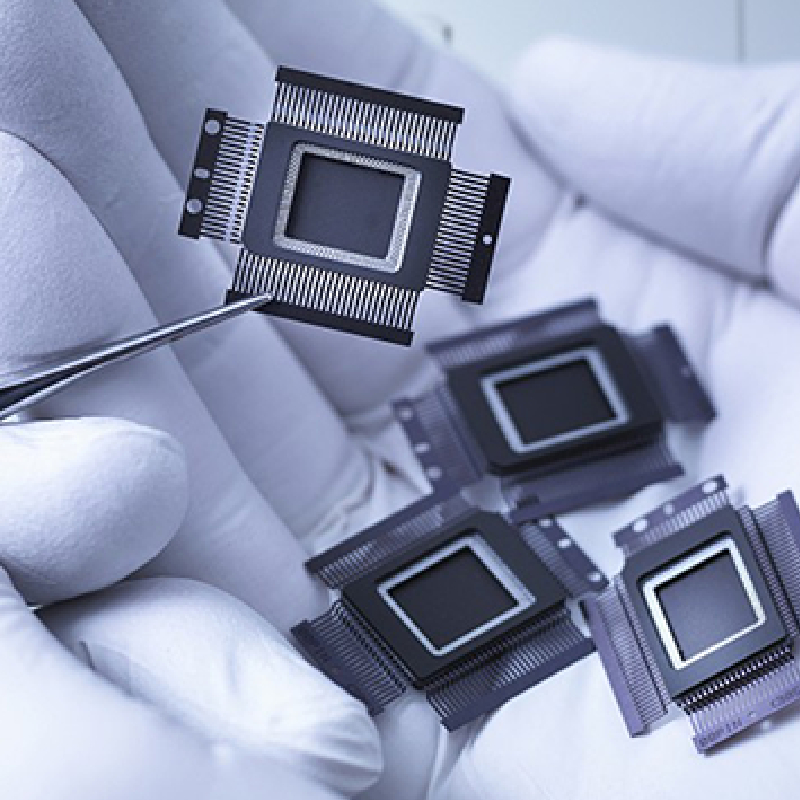
The length and flatness of the front package case; the diameter, arc length and arc height of the gold wire during the packaging process, and the lead spacing and width of the lead frame of the back package
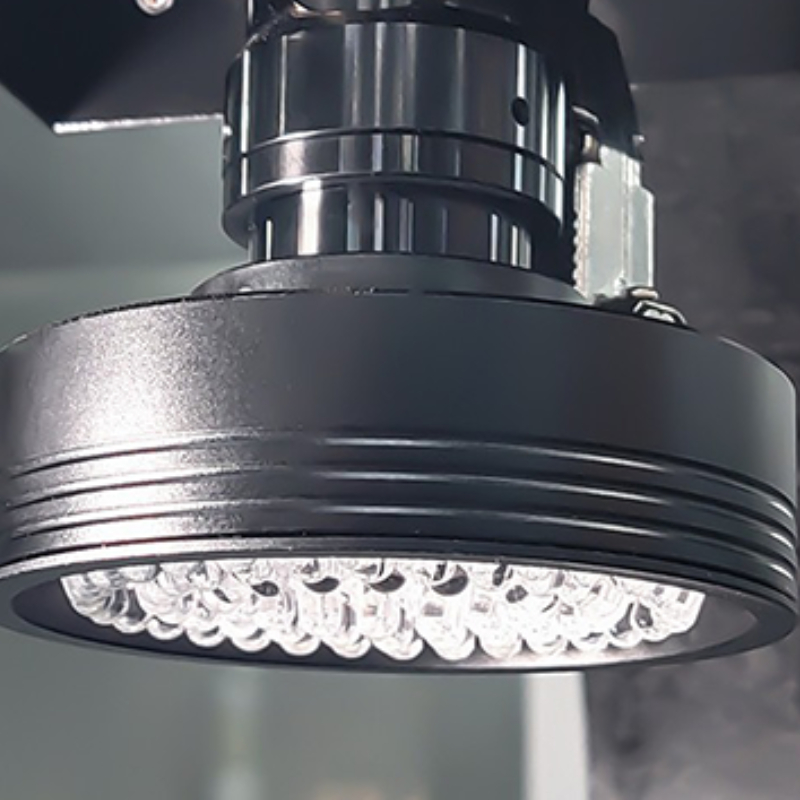
Mainly used for 2D size detection, suitable for quick measurement of small parts size and features
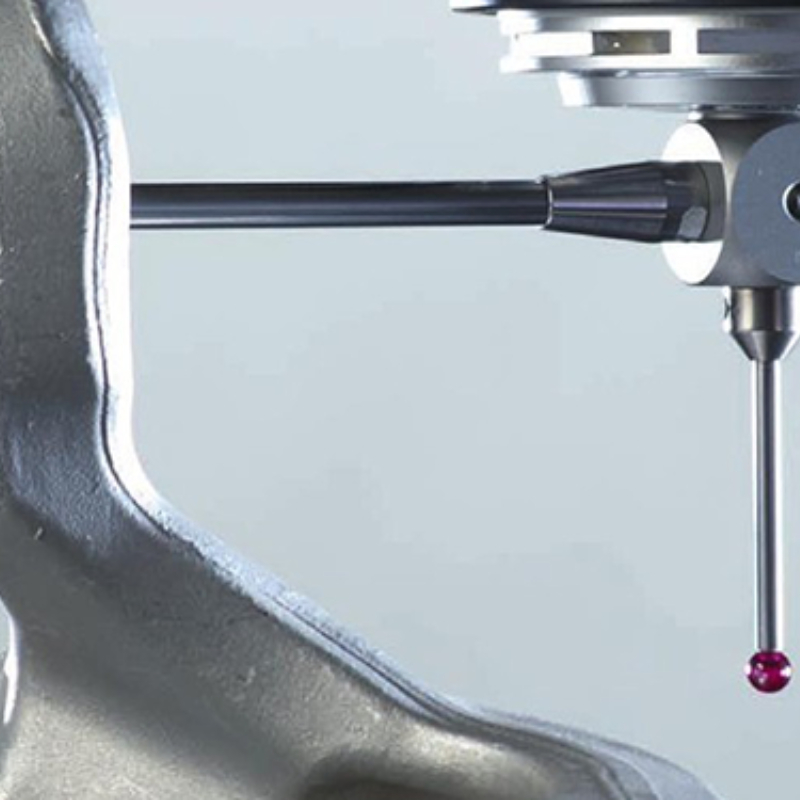
Various types of stylus can be configured to perform three-dimensional spatial inspection of products
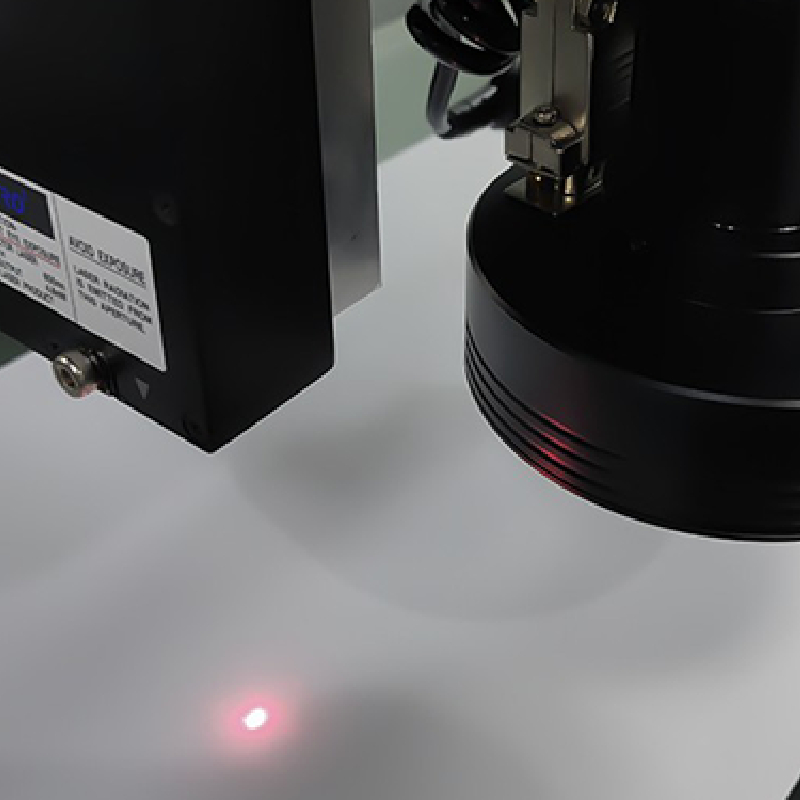
Used for part height and flatness measurement, measurement speed is faster than optics and foundation, non-contact measurement
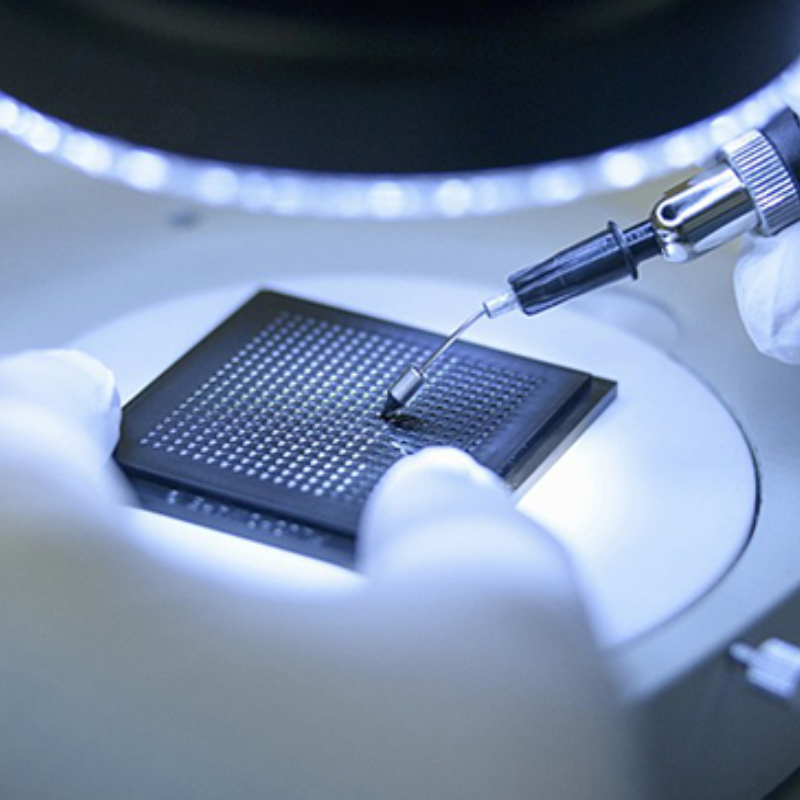
Used for part height, flatness and profile measurement. Higher accuracy, less than 1μm, faster scanning speed, smaller spot diameter, measurement of bright or transparent surfaces
Welcome to Hansvue Metrology We are a leading supplier of quality control and metrology equipment in Malaysia
Copyright 2024 © HansVue Metrology
WhatsApp us