BASIC
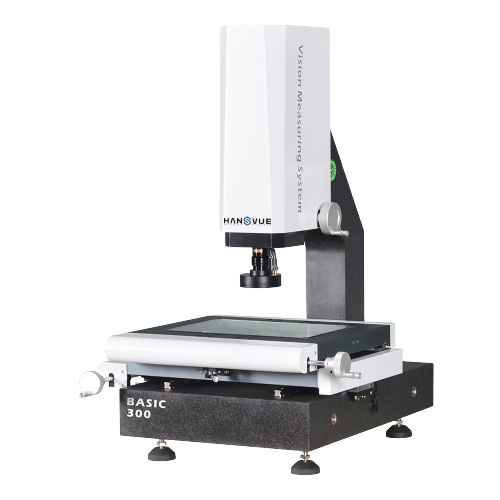
Video Measurement Systems, also sometimes known as optical co-ordinate measuring machines, are specially designed for precision dimensional measurements of small parts. The measurements are purposely done offline to minimize environmental variables.
The system enables 3Dimensional measurements of small parts by using a video camera and lens system to optically magnify the part image and then identifying the edges using a metrology software so as to measure dimensions with the help of glass scales and encoders.
PRINCIPLE
Video Measuring Systems don’t directly measure the parts but instead measure the images of the part. This necessitates a precise reproduction of the part to an image using state-of-art optics and lighting. Also, these systems use motion for measurements i.e the part is placed on a stage which can move iy in X-Y directions and the displacement is measured using glass scales and encoders.
METROLOGY SOFTWARE
A typical video measurement system software needs to have the following essential features that will make sure that the measurements are accurate. These features are as follows:
- Image Enhancement : The software should have excellent filtering and calibration tools. While tools for filtering are used to sharpen edges, remove noise or extract frequency information, the calibration tools removes non-linear and perspective errors caused by lens distortion and camera placement.
- Image Inspection: The color or pattern matching tools make use of changes in intensity to check the presence of part or feature.
- Features Location: Edge detection, grey scale, pattern-shape-color matching are some of the tools used to locate features in an image. Locating features is essential for aligning objects or determining exact object placement.
- Feature measurements: Edge detection and geometric function tools are used for measuring distances, diameters, angles etc.
- Drawing can be converted to DXF files.
- Able to measure small parts with high accuracy.
- Automatic edge detection.
- Eliminate contact measurements error.
- Automatic measurement after program is set.
- Real time 2D drawing.
- Samples can be reverse engineered via 2D drawing DXF.
- Array function, able to measure multiple samples in one go.
- Auto calculation for the geometric tolerances element.


